If you are using WordPress to build your website, you must know it is one of the most widely used CMS (Content Management System) in the world. WordPress is also one of the most popular web applications, making it a frequent target for attacks. However, with this popularity, there comes added security risk only if you don’t take proper security measures.
The popularity of WordPress attracts many hackers around the world who often target the website using different security exploits like malicious scripts, cross-site scripting (XSS), and code injection attacks. So, to stay protected from these threats, it’s important to implement the Content Security Policy (CSP). Implementing CSP helps reduce the attack surface of your website.
Content Security Policy: Getting Started with WordPress Made Simple
Iron Security guides you every step of the way.
In this article, we’ll guide you through understanding Content Security Policy, explain the best CSP settings for WordPress, and help you with how to simplify your website’s security using the Iron Security plugin. CSP is typically enforced by configuring your web server to send the appropriate security headers.
What is a Content Security Policy (CSP)?
A content security policy guides your website on which types of files (assets like images, scripts, and stylesheets) it permits to load. It controls resource types such as images, fonts, and scripts by restricting allowed sources and locations.
Browsers enforce these rules to block anything that violates the policy, protecting your WordPress site from harmful code. CSP helps prevent various browser-based attacks by covering multiple resource types and attack methods. Directives in the policy are separated by semicolons or spaces, specifying allowed locations—for example, only secure sources like https://example.com.
To simplify things more, CSP is a gatekeeper for your WordPress website content. Here are some points that clearly clarify what the gatekeeper does to your website:
Why You Need a Content Security Policy for WordPress
While we explain what Content Security Policy does to your WordPress, it’s important to note that server administrators are typically responsible for configuring CSP on the web server. There has been a turn towards adopting CSP and related security headers as security practices have evolved.
Additionally, supplementary security measures such as implementing HTTPS, marking cookies as secure, and using security headers like HTTP Strict-Transport-Security can further enhance your website’s protection. Here are some simple reasons why you should enable CSP on your website:
If you don’t incorporate Content Security Policy (CSP), it will make your WordPress site vulnerable to hackers and their attacks. Therefore, it’s essential to protect your website from numerous threats by utilizing CSP in your website.
Best Content Security Policy Settings for WordPress
If you wish to enhance the security of your website, you can apply these settings by configuring the Content-Security-Policy header in your web server or application. Here are some Content Security Policy (CSP) directives that you can implement:
1) Default Source (default-src)
This CSP directive ensures that all the resources, like scripts, images, stylesheets, and other codes, are only loaded from the same domain as your website. Here, ‘self’ refers to the same origin as your website, meaning resources must come from the same origin (domain, protocol, and port) to comply with the policy. This important measure prevents unauthorized access and reduces the risk of cross-site scripting attacks.
Content-Security-Policy: default-src 'self';2) Script Source (script-src)
Script Source (script-src) is a directive that assists in keeping your website secure by restricting unauthorized JavaScript. The script-src directive controls which script tags and JavaScript files can be loaded on your site. It allows scripts to come from trusted sources, such as a trusted CDN, preventing malicious scripts from running on your site.
script-src 'self' https://apis.google.com https://cdnjs.cloudflare.com;When listing allowed sources in the script-src example, using a trusted CDN is recommended for loading JavaScript files securely. Specifying a trusted CDN in your script-src directive helps prevent malicious scripts from being loaded. For advanced users, the ‘strict-dynamic’ directive can be added to allow dynamically loaded scripts from trusted sources, further enhancing security.
3) Image Source (img-src)
This prevents malicious styles from being applied to your site, keeping its appearance and layout secure.
img-src 'self' data:;While img-src controls the sources for images, other directives like media-src are used to define and restrict valid sources for media resources such as audio and video.
4) Frame Ancestors (frame-ancestors)
It protects against clickjacking by preventing other websites from embedding your WordPress site inside of an iframe. Clickjacking attacks work by loading the target website within a frame on a malicious site, tricking users into interacting with hidden or disguised elements.
frame-ancestors 'none';5) Style Source (style-src)
Helps to ensure that only reliable stylesheets load. This practice enhances website performance and security by preventing potentially harmful or untrusted stylesheets from being executed.
The style-src directive can also control whether inline styles and style attributes are allowed or blocked. By default, CSP may block inline styles and the use of the style attribute on HTML elements unless you explicitly allow them using options like ‘unsafe-inline’, nonces, or hashes. This means that if your site relies on inline styles or specific style attributes, you need to configure style-src accordingly to permit them, or else they will be restricted for enhanced security.
style-src 'self' https://fonts.googleapis.com;These settings create a good starting point for keeping WordPress safe. If you use certain tools like WooCommerce or Elementor, you might need to allow some extra sources.
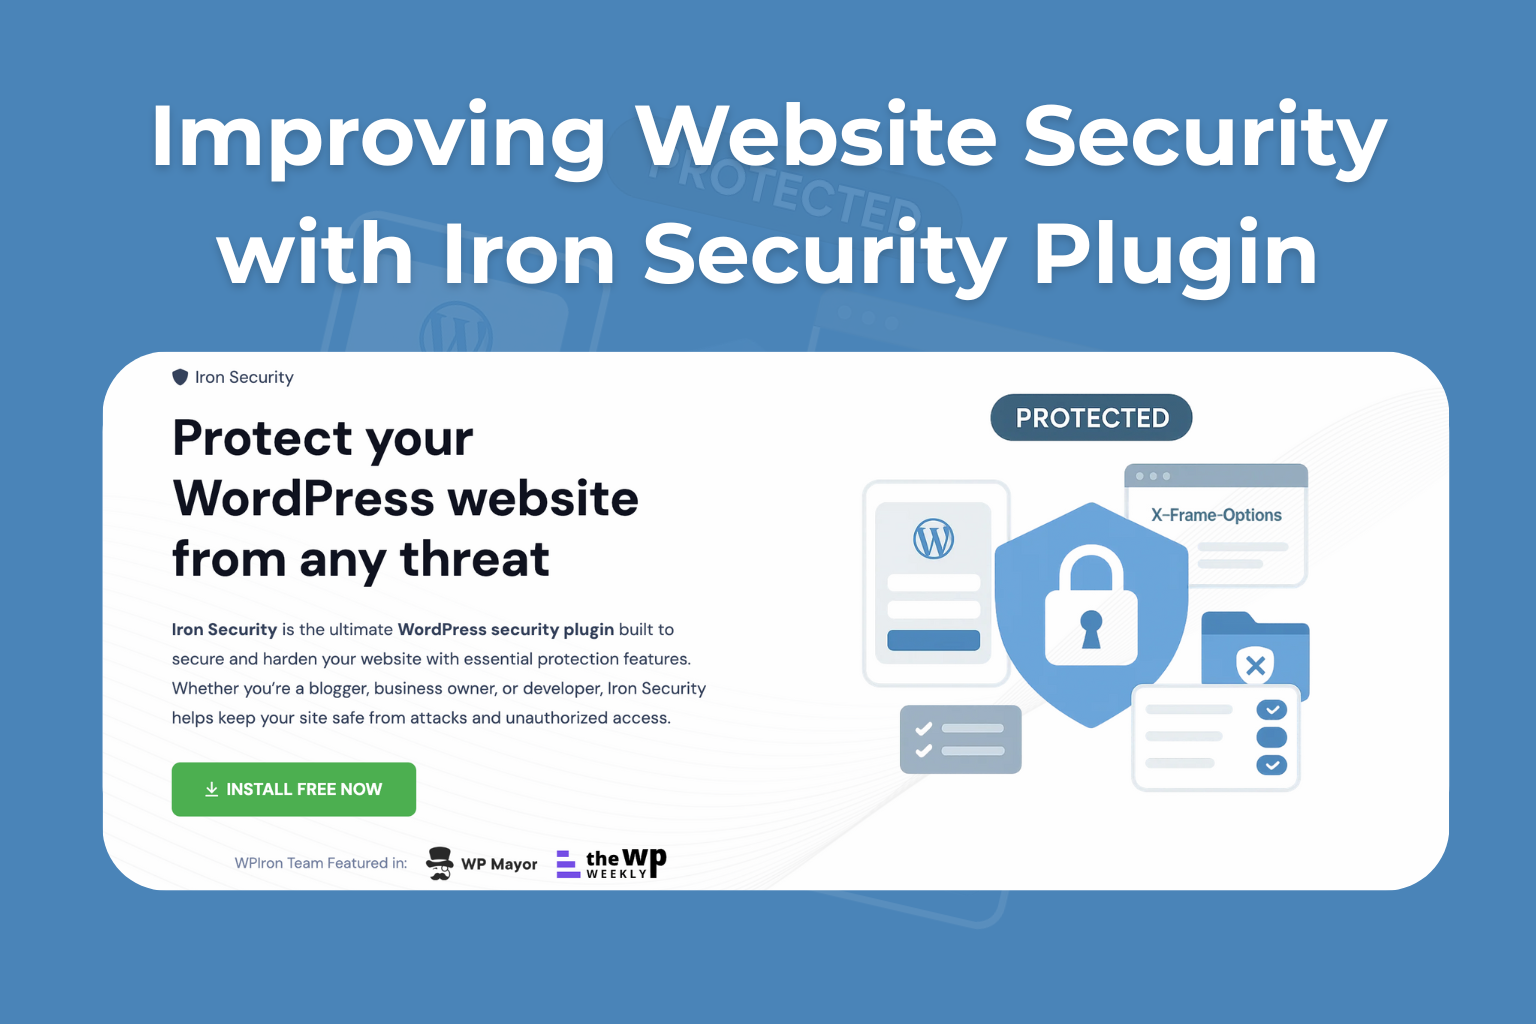
Improving Website Security with Iron Security Plugin
If you are new to WordPress, it might be tricky for you. That’s where Iron Security helps.
Iron Security is a top WordPress security tool that helps you easily add Content Security Policy headers and other key protections to your site—no coding needed. It also offers features like secure cookie settings, HTTP to HTTPS redirection, and security headers such as HTTP Strict-Transport-Security and Content-Security-Policy, making it ideal for blogs, businesses, and developers alike. Additionally, Iron Security can help control or block inline event handlers to enhance your site’s security.
Important Features of Iron Security
General Hardening
- Disable XML-RPC & REST API
- Hide WordPress version
- Block AI crawlers
- Disable file editor
- Enable plugin & core auto-updates
Login & Authentication Security
- Custom admin area URL
- Limit login attempts & lock out unauthorized users
- Restrict the number of administrators
- Session timeout for idle users
- Block user enumeration
Files & Directory Protection
- Block PHP file uploads
- Prevent direct file access
HTTP Security Headers (including CSP)
- X-Content-Type-Options
- X-Frame-Options
- X-XSS-Protection
- Strict-Transport-Security (HSTS)
- Referrer-Policy
- Content-Security-Policy (CSP)
- Permissions-Policy
Ease of Use
- Clean and intuitive admin panel
- Lightweight and performance-optimized
- Fully compatible with major WordPress themes & plugins
Content Security Policy: Getting Started with WordPress Made Simple
Iron Security guides you every step of the way.
Conclusion
To protect a WordPress site from online dangers, it’s important to set up a strong Content Security Policy (CSP). This helps control how resources are loaded, offering granular control over which resources can be loaded and from where. CSP also allows you to set specific restrictions to minimize security risks, such as blocking harmful scripts and reducing the attack surface.
Using tools like the Iron Security plugin makes it easier to set up a CSP and offers extra safety features. By following best practices for CSP settings, WordPress site managers can create a safer space that prevents attacks and builds trust with users, leading to a better online experience for everyone.
FAQs about Content Security Policy (CSP) for WordPress
What is Content Security Policy (CSP)?
CSP is a security tool that helps keep your website safe from XSS (Cross-Site Scripting) attacks. It does this by stating which types of content can load on your site. Think of it as a guard that stops any content that doesn’t follow the set rules.
Why is CSP important for WordPress sites?
CSP helps stop XSS attacks, stops unauthorized third-party scripts, keeps user data safe, and lowers the risk of malware injection. It also makes people trust the site more and can help its SEO rankings.
What are the benefits of using a plugin like Iron Security for CSP?
Iron Security makes CSP and other security measures easier to set up without coding knowledge. It lets you hide the WordPress version, stop AI crawlers, disable XML-RPC and REST API, and more. It also has an easy-to-use admin panel and works with most WordPress themes and plugins.
How can I test if my CSP is working correctly?
To make sure your content security policy headers are being used correctly, you can use the developer tools in your browser. Check the “Security” tab in the developer tools to see if there are any CSP violations or alerts. Browsers will display messages when resources are blocked due to CSP violations.
How can I avoid common mistakes when setting up CSP?
Make sure that the default-src directive doesn’t let anything in. Avoid directives that are too broad, like *, which can let in content that isn’t wanted. You can also configure your CSP to send reports of violations to a reporting endpoint for easier debugging and monitoring. Review and update your CSP often as your site changes.